The steps that are illustrated:
- Obtain and install a postscript printer driver. Next, set up that driver at the operating system level for creating postscript files with embedded fonts and which recognize our custom page sizes. These are the steps illustrated on this page.
- Set the driver for creating the postscript file from your application.
- "Print" to the postscript driver with a file as output.
IMPORTANT: To install the postscript driver you will download some files that you will use for postscript creation. Before you download the files, make a specific folder for saving them and then download them to that folder. The greatest single problem people have had in trying to use these instructions, is that they do not know what folders they have saved the downloaded files to and they do not know how to find them. If you do not know how to use "My Computer" or "Windows Explorer" to locate and move around files then you probably should not attempt this without some help.
OBTAIN THE FILES: Postscript drivers are made from two parts: 1) the Adobe generic postscript driver; and 2) a "printer postscript description" or "PPD" file. The generic driver installer is called "winsteng" and is downloaded from this page at Adobe. You can download the English version of Distiller PPD file by clicking with your right mouse button on this link . Select the option "save link target as..." or "save target as..." to save the file "adist5.ppd" to your computer's hard drive. Give a location for saving the file where you will be able to find it again. [If you need another language for the driver you can find several different ppd files in a "zip" file on the Adobe site but you will need an "unzipper" to separate them (look at the PDF creation FAQ for details on getting the unzipper and unzipping the .zip file).]
Installing the printer driver is similar for various versions of Windows. It is illustrated here for Windows 2000. For using the driver, click here.
Windows 2000:
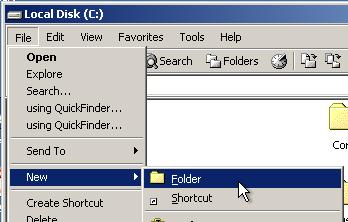
1) Create a folder for this installation. I recommend calling this folder "postscript" and creating it in C:\ (the root of the C drive). From "My Computer" navigate to "C:\" and then select File=>New=>Folder:
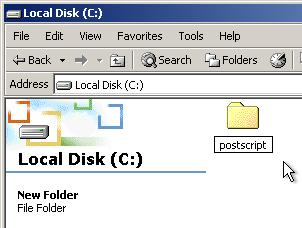
Name this folder postscript (entering the name in the space under the folder):
Save the files you download to this postscript folder:
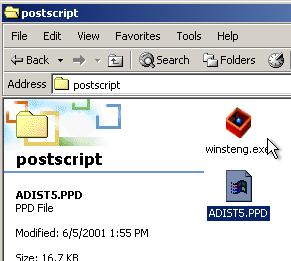
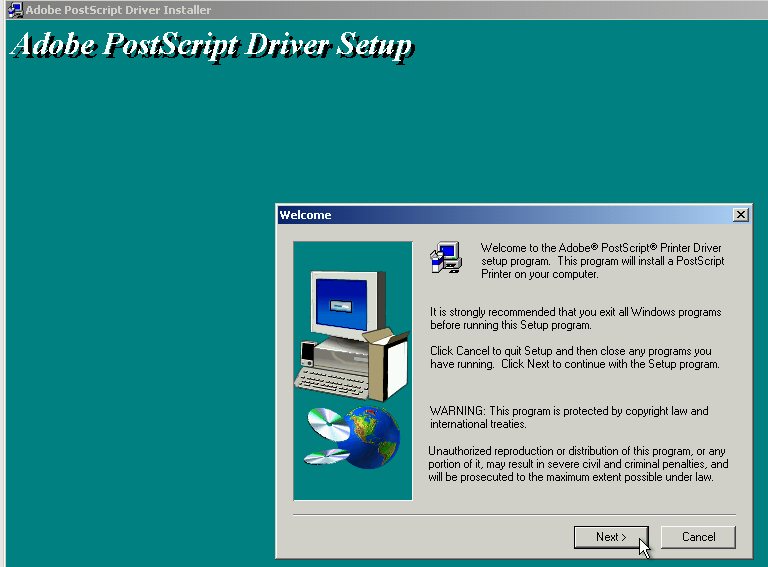
Run the installer by double clicking on "winsteng.exe." The installer has several steps to go through which are illustrated below. Read the text, click on "next,"
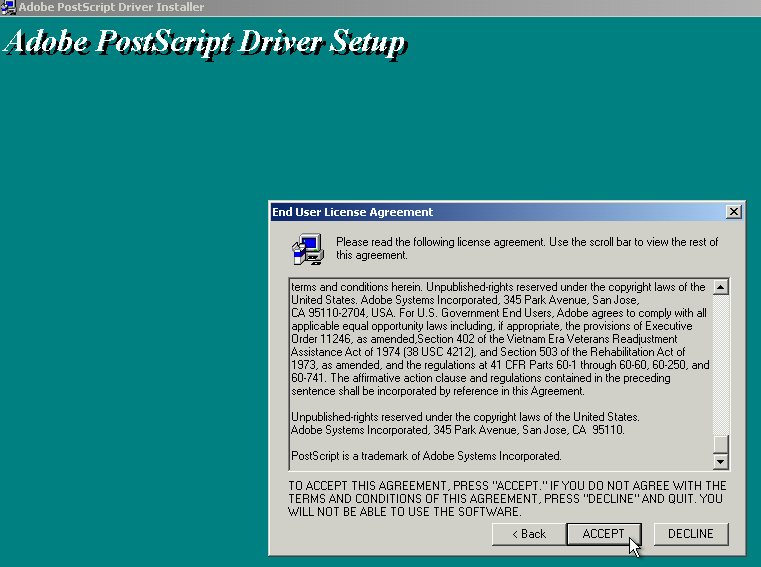
Accept the license agreement (to continue it's required).
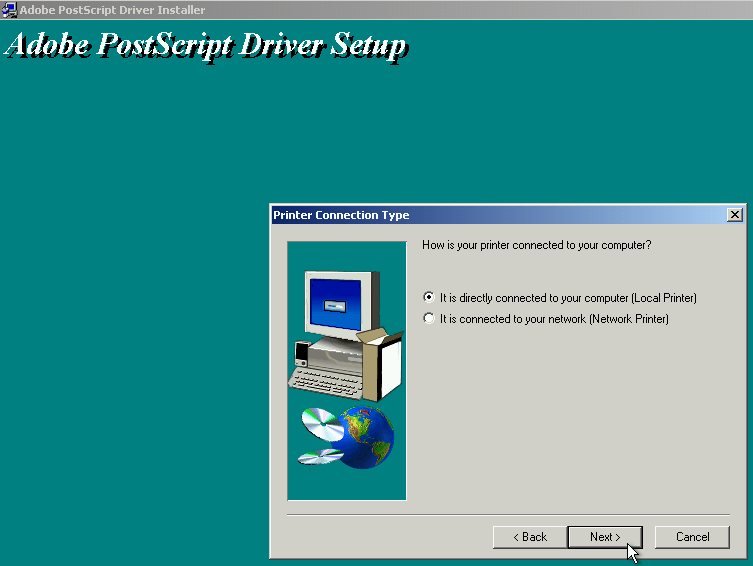
Select "It is directly connected..."
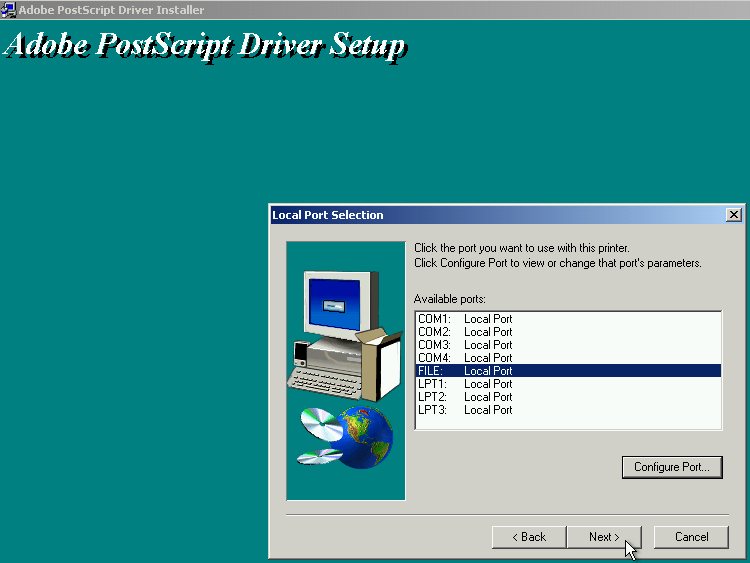
Choose "File" for the port since this is really a virtual driver that prints to a file.
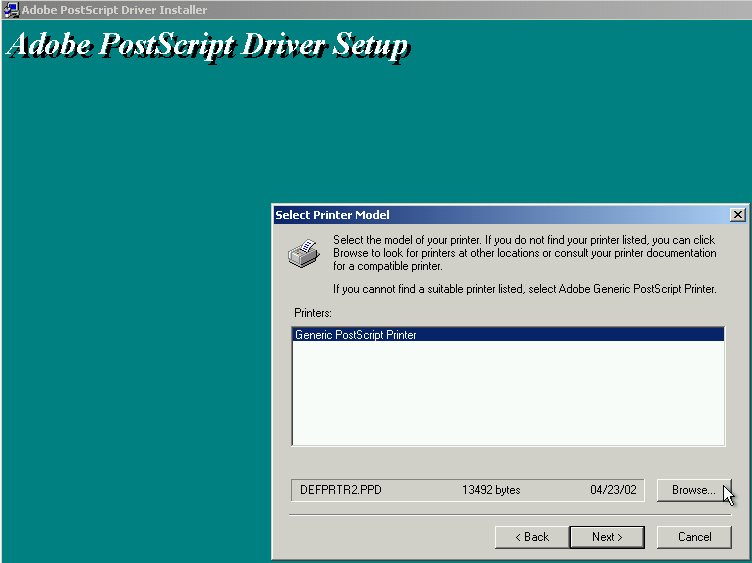
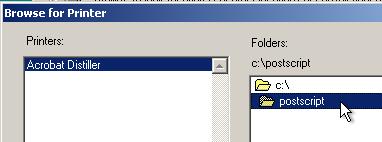
You want to select the Distiller PPD so you need to select "Browse" so that you can find it and select it for the description that gets used with this driver:
In the browser window double click on C: to get to the root of C drive and then scroll down and double click on "postscript" to get into that folder and find the Distiller printer:
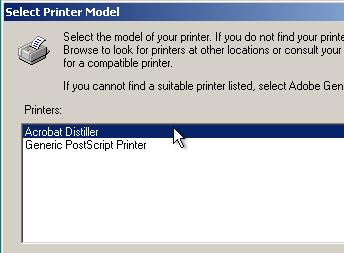
Click on "OK" in the browsing window and you find yourself back in the Select Printer Model window where you now have Acrobat Distiller as a choice for a printer. Highlight it and click "Next."
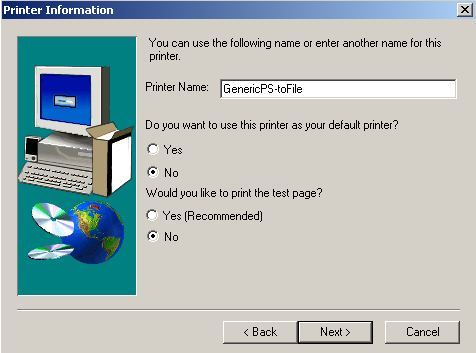
Select "Not shared," "Next," and give the driver a name. I chose a different name than Distiller.
Defining a custom paper size for the driver:
If you will only be making a letter-sized (8.5 x 11 inch) book then you can go on to "using the driver" (link at the bottom of this page). If you will need a non-standard page size you will need to set that up from the operating system level. This will seem unnecessary, since there is also a custom page size that can be set in the postscript driver from inside the application. However, if it is not set up from the operating system level it will not "stick" due to some kind of bug between Windows and the applications. You must define the custom page size from the Start=>Printers or Start=>Settings=>Printers (it is somewhat different in different versions of Windows).
Windows 2000 (XP is similar):
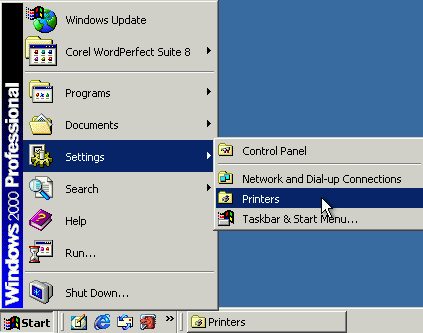
Once again you start from the operating system desktop. You select Start==>Settings==>Printers and again you get a window showing the installed printer drivers.
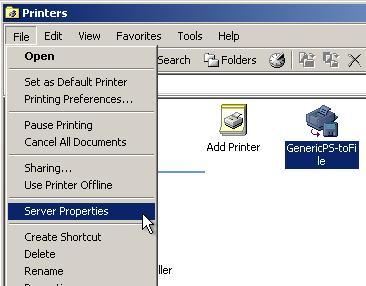
Again you get a window with the printer drivers. This time you will be creating a custom "form size." Click on the postscript driver once to highlight it. Then you click on the File menu at the upper left of the whole printer window. The File menu drops down and you select "Server Properties" from that File menu:
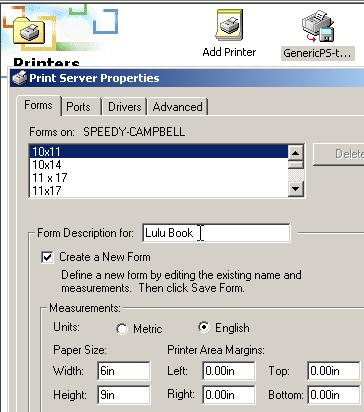
Select the "Forms" tab, check the box that says "Create a New Form," give that form a name in the "Form Description" box (likd "Lulu book" or "6x9") and put the width and height in the boxes. Select "Save Form" and you have a custom page size set in Windows 2000:
Windows 98:
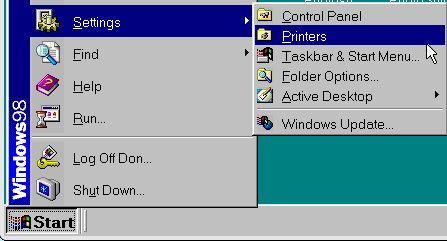
Open the "printers" window by pressing Start==>Settings==>Printers:
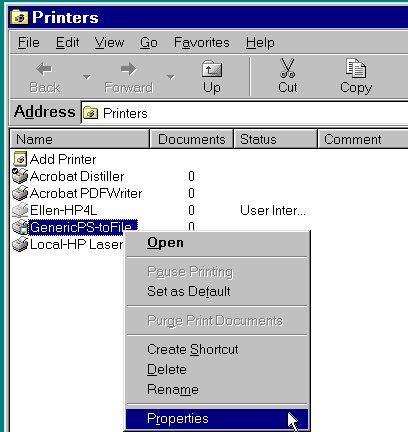
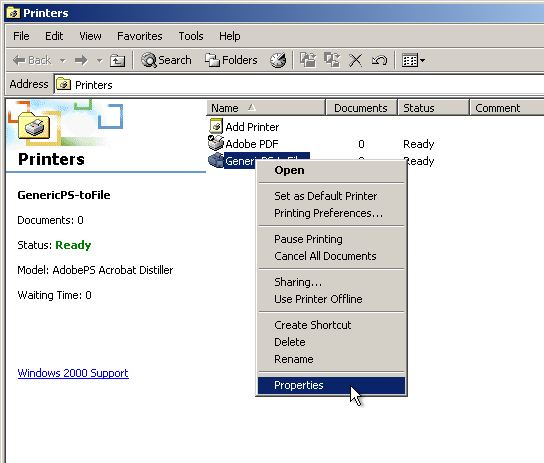
Click with the right button of the mouse on the postscript driver you installed. That opens up a "context menu" where you select "properties:"
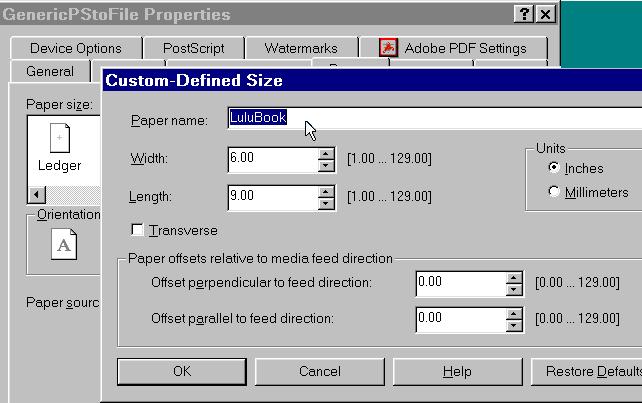
The properties dialog has a tab for paper. Choose one of the "custom" paper sizes to highlight, click on the "custom" button at the lower right and set the width and length of the paper and click OK to exit:
Click here for a description of using the driver.
Setting up the Postscript driver to embed fonts
We are also setting the driver to not substitute Type 1 or Built-In fonts for TrueType fonts.
Windows 2000:
Again we go to the "printers" window from the start menu: Start==>Settings==>Printers or Start==>Control Panel==>Printers and Faxes. We "right-button" click on the Generic Postscript driver to open its context menu and select "Properties."
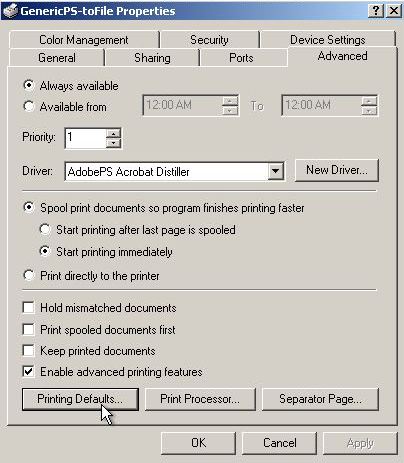
Choose "Advanced" and then click on the "Printing Defaults" button:
Under TrueType fonts, choose "Download as softfont."
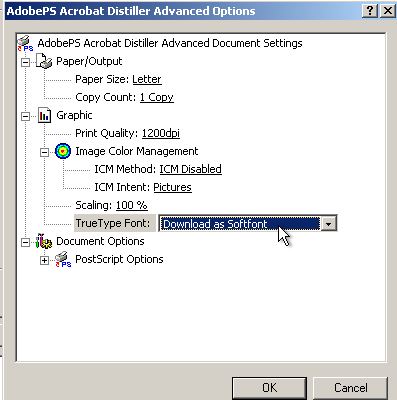
Under the Postscript options, choose Optimize for Portability.
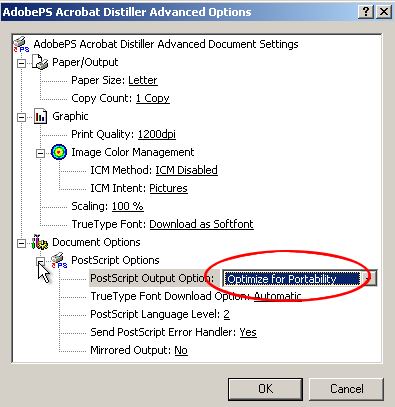
Now click OK in the various windows to finish the setting process.
Windows 98SE:
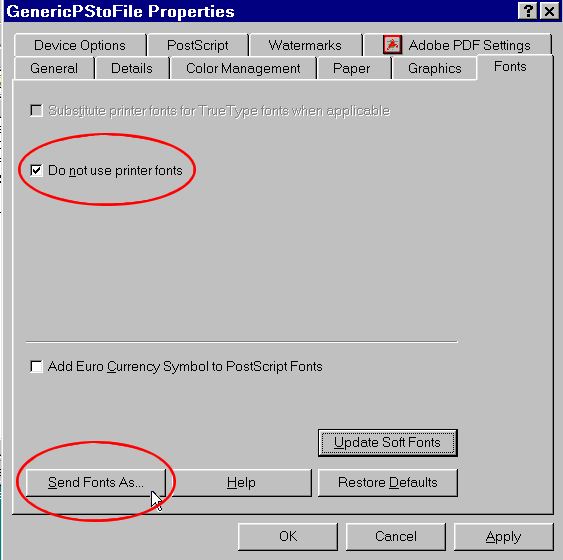
Again, go to the Printers Window from the Start menu: Start==>Settings==>Printers. Right click on the Generic Driver to open the context menu and select "properties." Choose the font tab and check "Do not use printer fonts." Click on the button, "Send fonts as."
Select Type 42 for sending TrueType fonts. Send Postscript fonts in Native format.
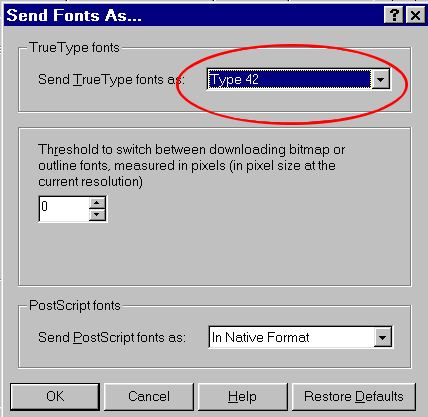
"OK" your way out of the driver settings menus and you are ready to print to a postscript file.