©2007&2008 by
Don Campbell
last edited 03/04/2008
Embedding
steps:last edited 03/04/2008
Making a PDF with
Acrobat
This tutorial will illustrate 1)
setting Acrobat's defaults for embedding; 2) setting Acrobat to
recognize a custom paper size; using these settings to make a PDF from
a Word document. There are at least 4 different ways to make a PDF
using Acrobat. Some of these seem easier because they involve fewer
"clicks." The quick click ways to make PDFs are likely to be just fine
for non-demanding purposes. For printing in a commercial print
environment it is important to go through several steps to get the
setup right.
In order to embed all fonts using Acrobat, you must make settings in both Adobe Acrobat's Distiller and the distiller-compatible PostScript driver called "Adobe PDF" in Acrobat versions 6-8. The settings are nearly identical for these versions of Acrobat with the exception of one "checkbox" for Acrobat 8 noted below.
1) The first step is to set the default settings for the Adobe PDF driver installed as a "printer" by Acrobat. The defaults that Acrobat starts with is called "Standard" and it is setup not to embed some fonts.
2) Your new setting "job option" (a list of settings grouped together) will be called "High Quality Print(1)." You must choose it as the job option to use for making the PDF.
Setting up the Postscript driver
You set up the PDF "driver" from the "Printers and Faxes" menu that you find from the Start menu or the Windows Control Panel.
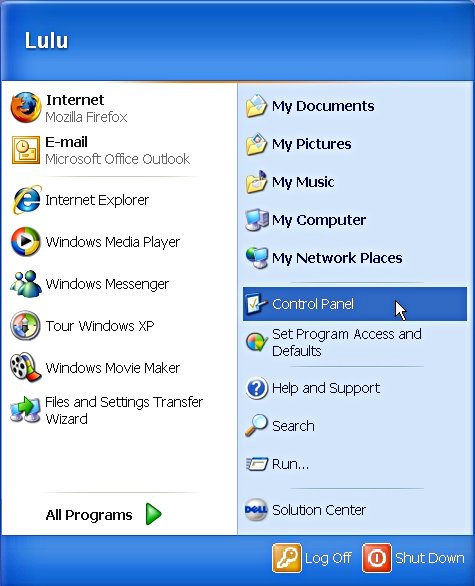
From the operating system desktop, select Start==>Control Panel:
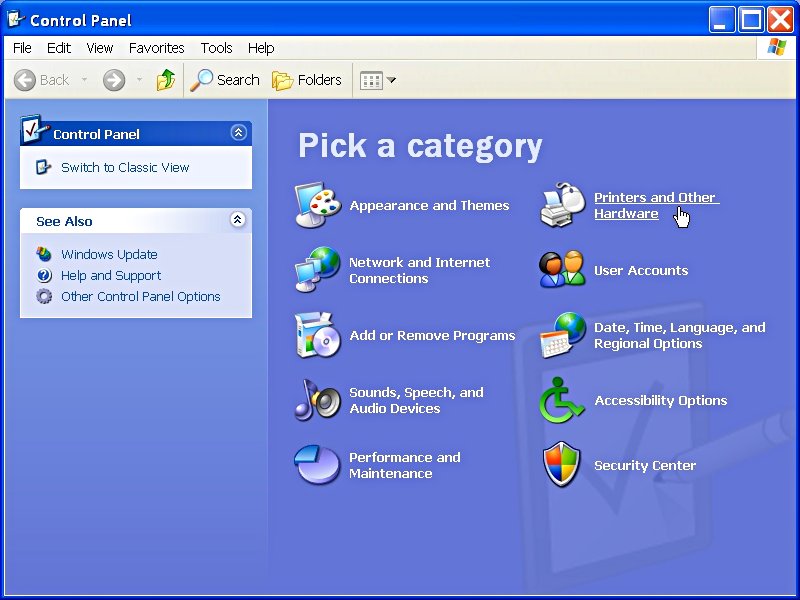
Depending on your type of control panel display you will need one or two clicks to get to the Printers and Faxes window:
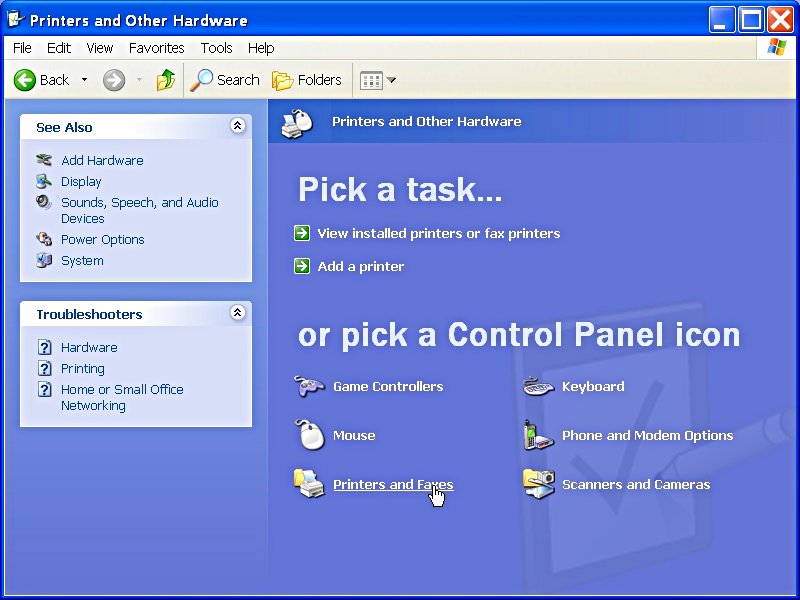
Select "Printers and Faxes:"
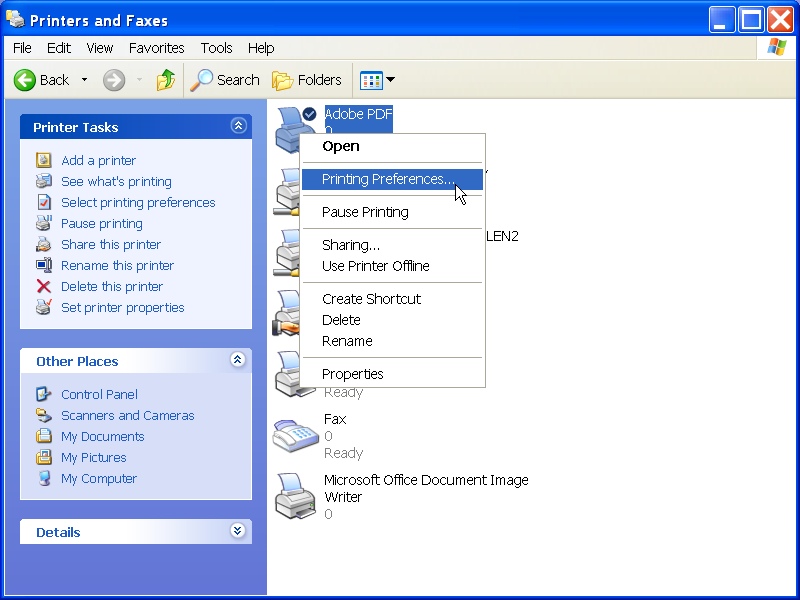
With the right mouse button, click on the printer driver (in our example it is Adobe PDF, the PostScript driver for Acrobat). Select "Printing Preferences" from the menu list:
Select the "Layout" tab and then choose "Advanced:"
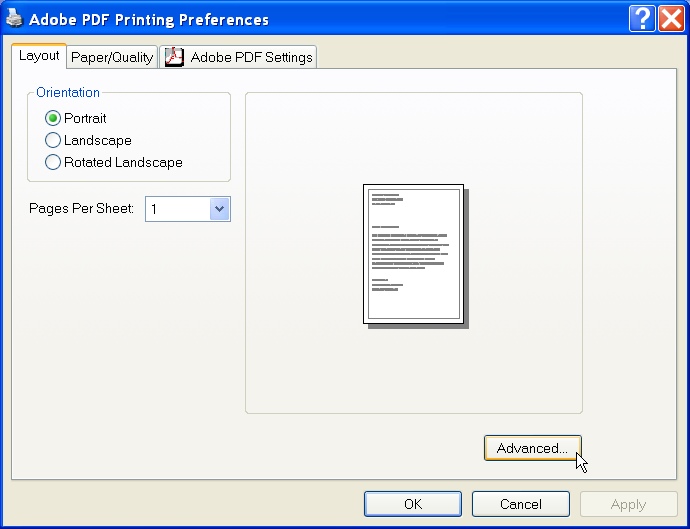
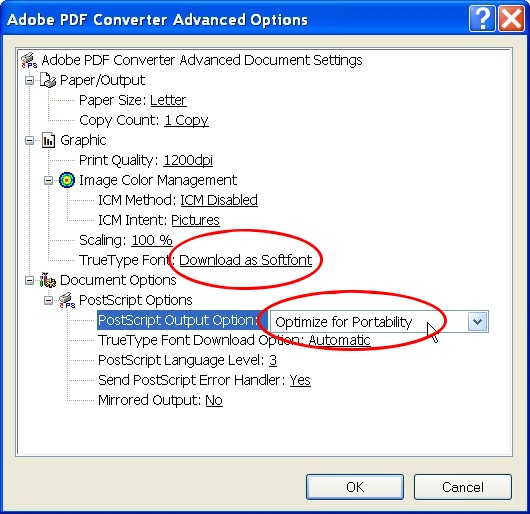
Change the selection next to "TrueType Font" to "Download as Softfont." Change the PostScript Output Option to "Optimize for Portability." Click on OK to go back to the main Printer Preferences menu.
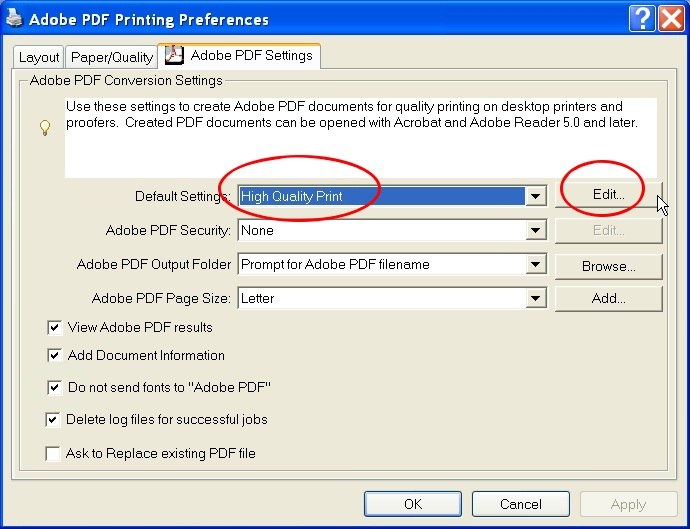
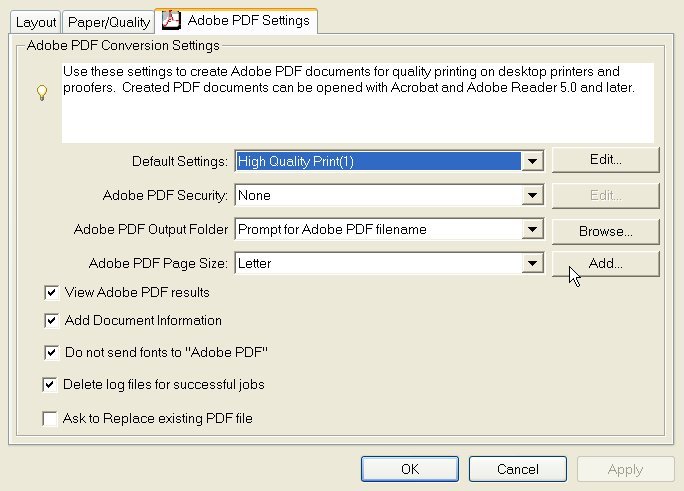
From the Printer Preferences menu choose the "Adobe PDF" tab.
Leonard Rosenthal, Adobe's PDF specifications evangelist, says to check the box that says "Do not send fonts to 'Adobe PDF." Note: the label on this check box in Acrobat 8 and newer says "Rely on system fonts only; do not use document fonts." Note also: if you try to make a PostScript file with this box checked then Adobe PDF pops up with an error message that tells you that you must uncheck it. This setting is poorly documented by Adobe and conflicting statements about it appear on many websites.
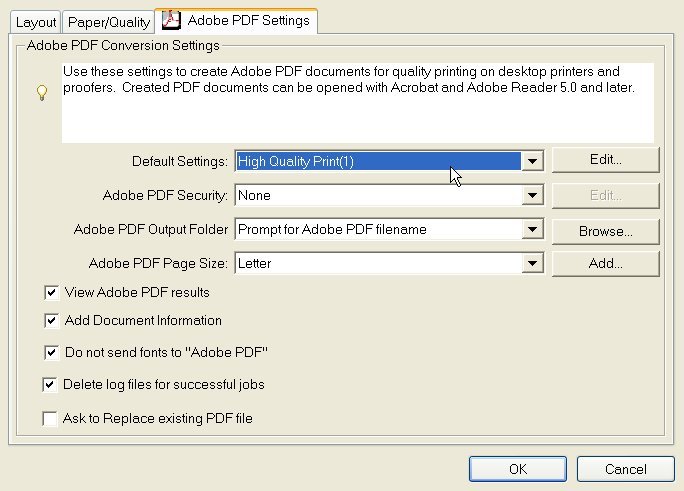
Choose the job option "High Quality Print" and then select "Edit" to make some customizations to that option.
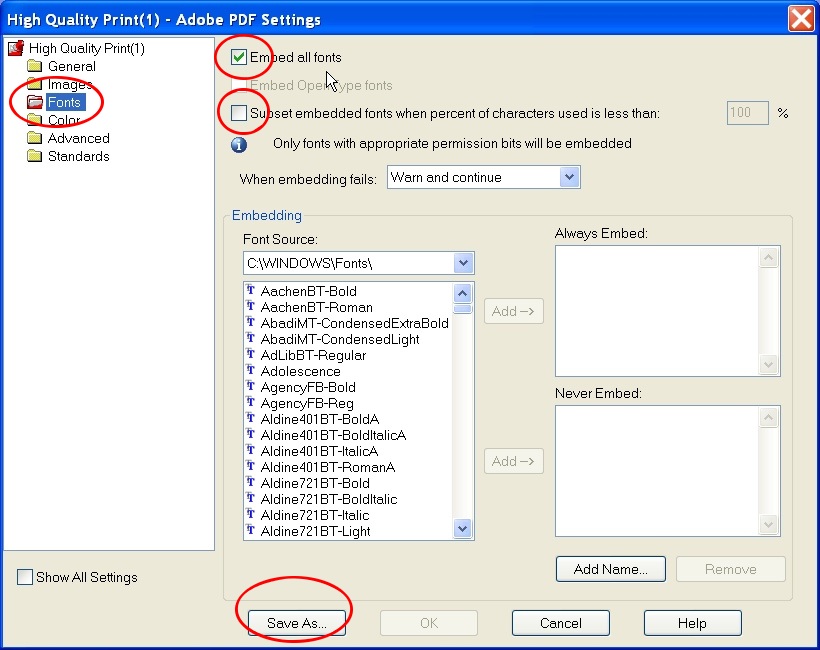
Choose the "Fonts" menu and check "Embed all fonts." Uncheck the subsetting box. Save this new job option as "High Quality Print(1)."
You now have settings for embedding all fonts using this driver.
OK your way back to the Printer Preferences settings if you need a custom paper size, otherwise OK your way all the way out and close the Printers Window. .
Setting up a custom paper size:
Acrobat distinguishes between "page size" and "paper size." For Lulu authors these will be the same. Essentially, if you want a book that is 6x9 inches, the PDF you create should be 6x9 inches in size. Since this is not a standard size for desktop printers you will need to set Acrobat to "know" that a 6x9 inch paper size is possible.
In the Printer Preferences window, to the right of the "Adobe PDF Page Size" choose "Add."
In the window that pops up, enter the width, height, units and the name for this page size. Click on Add/Modify to save it.
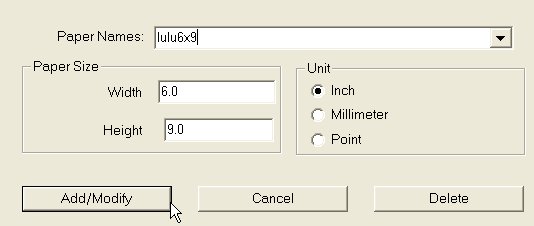
Click on OK to save this setting. This page size should now be a choice available in the "Page Setup" menu of Word and other applications.
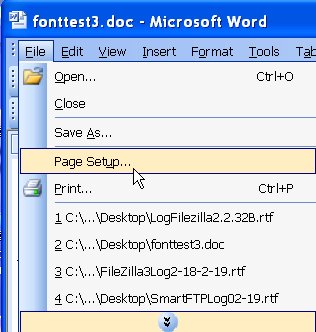
Using the custom size in Word:
Open Word. Click on File=>Page Setup
Choose the Paper Size tab. Click on the drop down menu and you should see your custom paper size listed by the name we gave it.
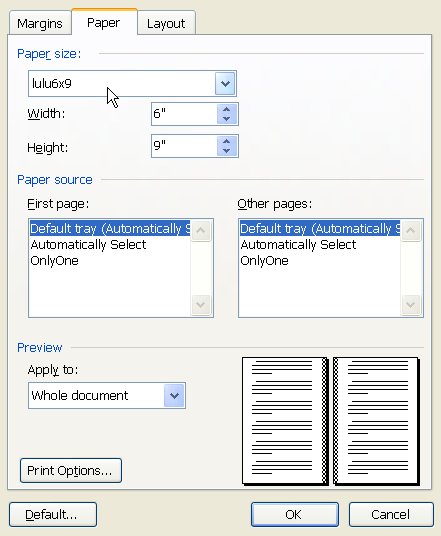
This is a good time to set your margins also.
Acrobat is set to embed fonts and it knows about our custom paper size. We have a document that we want in PDF format. Sooo....
...Let's make a PDF:
With our file open in Word, click on File=>Print.
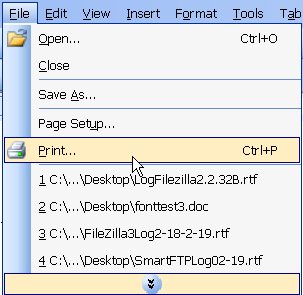
The print menu opens. Set Adobe PDF as the printer. Click on "Properties" to make sure our job option is selected.
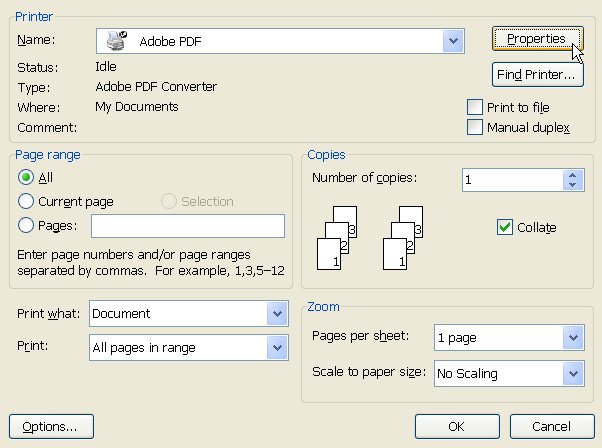
The default is set to our High Quality Print setting and so we are ready to print to PDF.
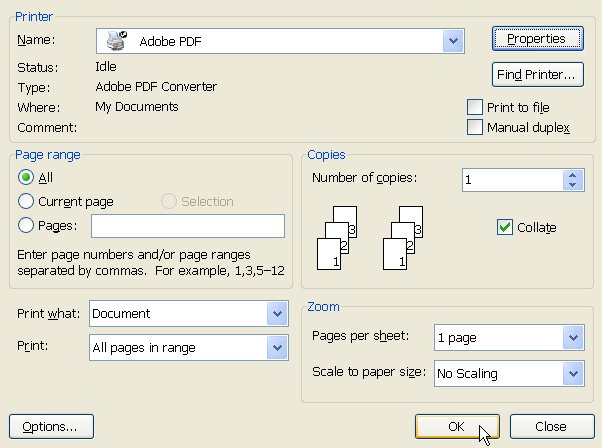
Print to PDF by clicking on "OK":
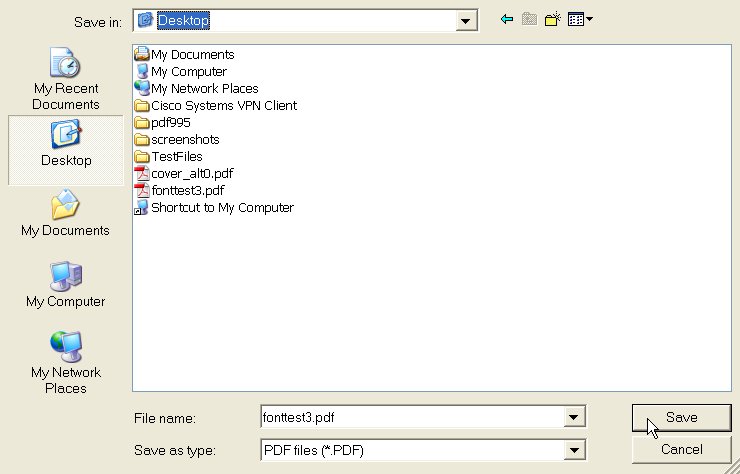
Almost there--choose a name for the PDF file.
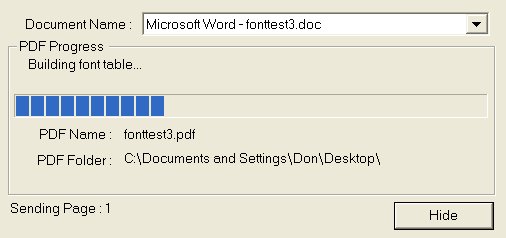
Whirrr....
Back to the PDF FAQ.